Discover more from Neural Brain Works - The Tech blog
Subscribe to get the latest posts sent to your email.
So, you’ve decided to do Python 3.9 installation on Windows machine? Good call! This version, released in October 2020, is packed with improvements and is still widely used across many projects.
Whether you’re following a course, joining a dev team, or maintaining older code, this guide makes your setup process as smooth as possible.

Before jumping in, make sure your system is ready:
Click on the below download link
Scroll to the Files section and choose:
Download your respective installer
Don’t forget to check the box that says “Add Python 3.9 to PATH” before doing anything else.

You’ve got two choices:
Pick the one that suits you. Newbies? Go with Install Now.
If you went with Customize Installation, you’ll be taken to the “Optional Features” screen.
Keep all checkboxes ticked:
Click Next to continue.

Here’s what you should do:
Want to change the install path? Click Browse and pick your preferred folder. Otherwise, leave it at the default: C:\Program Files\Python39
Click Install to begin the process.

Now the installer will:
This should only take a few minutes.


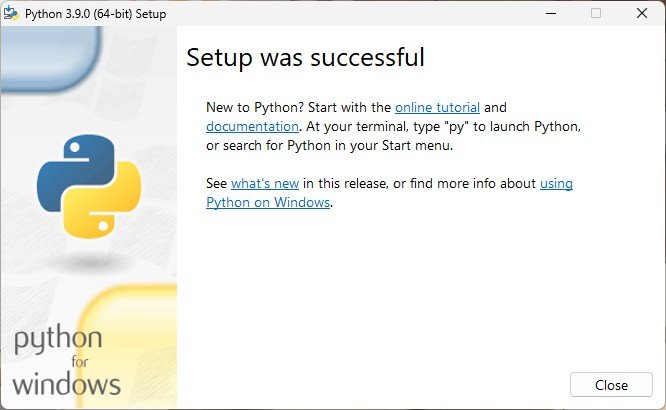
You’ll see the message: “Setup was successful.”
Click Close and give yourself a fist bump! You did it. 🎉
Open command prompt, then type any one of the below command:
After pressing Enter, you’ll see the Python version displayed as Python 3.9.0, confirming that the installation was successful.🎉
Subscribe to get the latest posts sent to your email.